How to install Zorin OS

You might be reading this out of sheer curiosity or maybe you've decided to use Linux, careful there :O
I am writing this guide to help a friend install Zorin OS, a distro she fell in love with from the very first time she used it. I highly recommend you take a look!
What is Zorin OS?
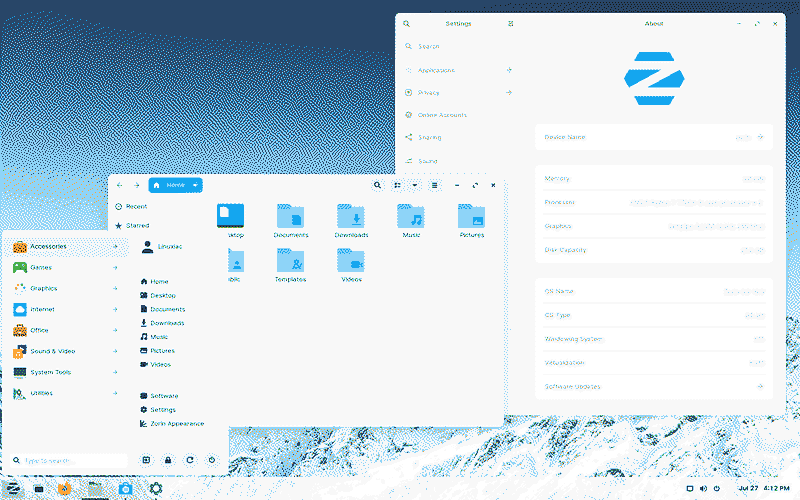
Zorin OS is a Linux distro based on Ubuntu, which in turn is based on Debian. Basically, each one is a modification of the previous one. Debian's philosophy is to achieve maximum stability. Ubuntu adopts these ideas and also tries to be as user-friendly as possible. But even so, sometimes it falls short and is a bit too unconventional for a new user.
This is where Zorin OS comes in. It modifies Ubuntu to be as accessible as possible for newcomers to Linux. It minimizes friction to the maximum, and using it you can tell—everything is right where you expect it to be.
It is a very easy distro to install and use, so if you are starting with Linux, it is a great gateway. If you are considering taking the leap, I recommend following this guide and playing around with it a bit to see what you think.
Preparing the installation media
The first thing is to prepare the installation media. For this, we will need a USB stick of at least 4GB. I will also assume you are starting from Windows. Maybe in the future I'll update the guide to start from Linux too.
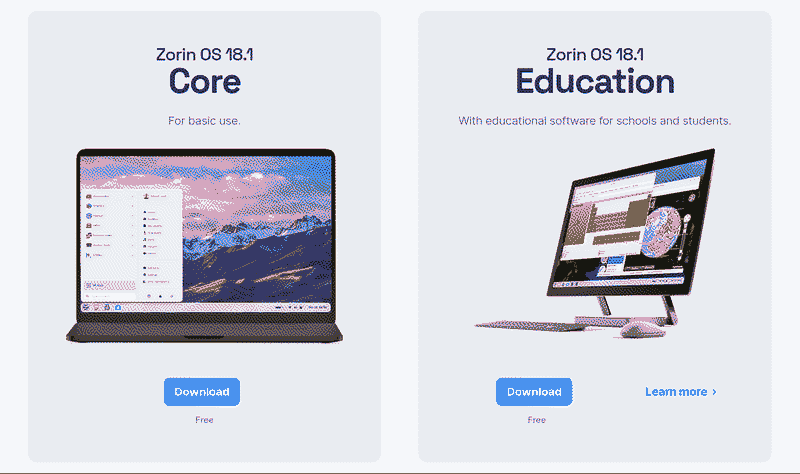
We need to go to the Zorin OS website and click on download. Then scroll down to download the Core version, and on the screen that appears you can click Skip to download to download without entering any data. This will download a .iso file.
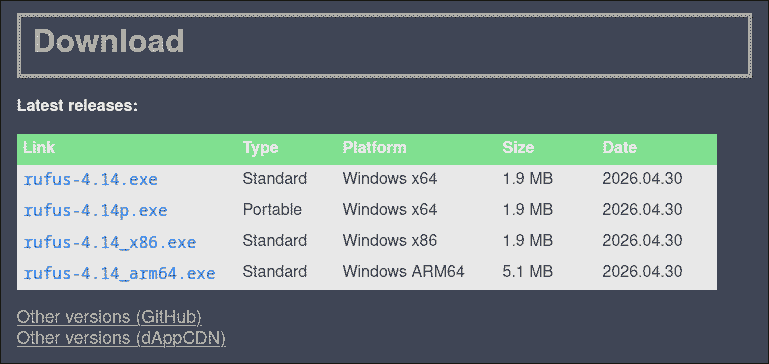
While it downloads, let's look for the program we need to use. It's called Rufus and you can find it on their website. Again, go to the downloads section and among the options provided, download rufus-x.xxp.exe (make sure it has the 'p'). The x's represent the version and will change depending on when you follow this guide.
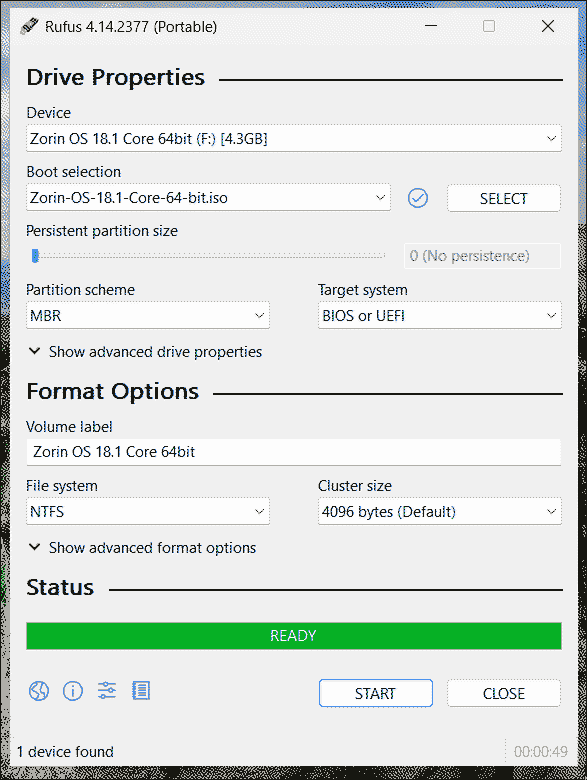
Once everything is downloaded, we can open Rufus. If it asks if you want to check for updates, say no. Plug the USB into your computer and you will see something similar to this:
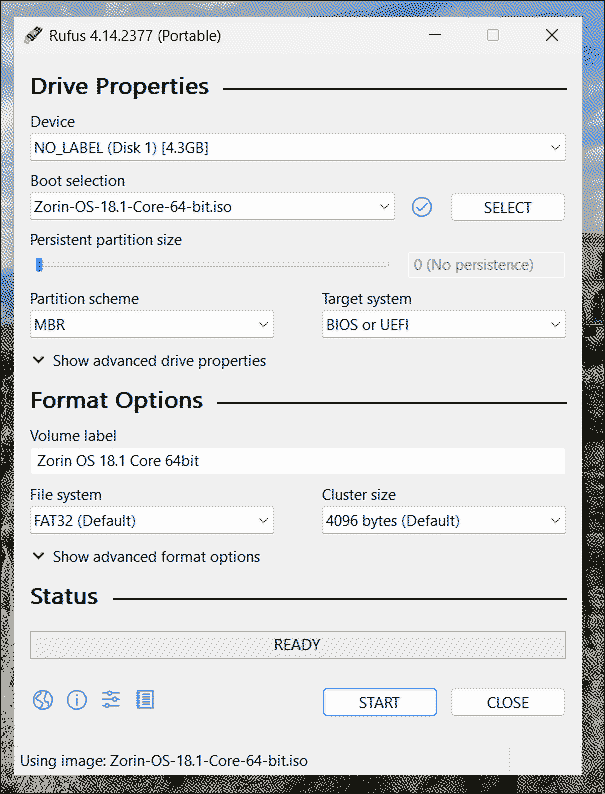
In the Device section, you have to select your USB. Right below that, you will have to select the .iso file we downloaded from the Zorin website. It should look exactly like the image. Once selected, you can click start.
Important: this will erase all content on your USB, make sure you don't have anything important inside.
You might now get several messages asking for permissions. If so, accept them and the USB will start preparing.
Once it finishes, we can continue with the guide.
BIOS
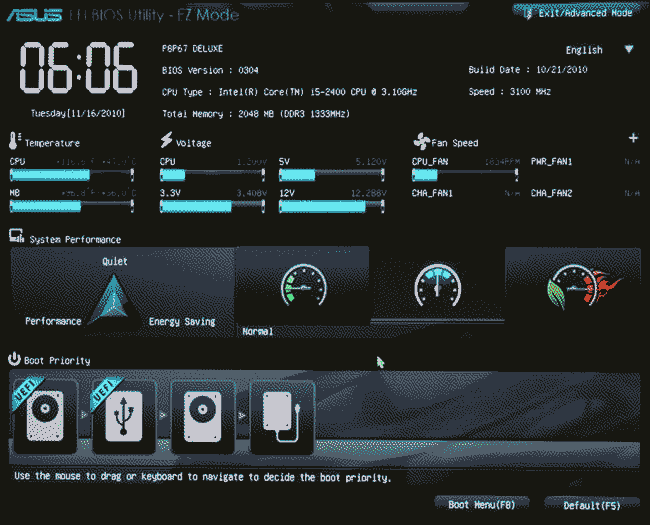
Now comes a part that is a bit scary if you've never done it, although it's quite simple. We have to enter the BIOS and change the boot order so the computer boots directly from the USB.
For this, you need to know the brand of your motherboard. If it's a custom-built PC, you probably know it, and if it's a pre-built computer, it's the brand of the computer itself: HP, Dell, etc. You will see it on the logo that appears at the very beginning when you boot the machine.
Search Google for "change boot order" and your motherboard brand. The guides will tell you what key you need to press while your computer boots to enter the BIOS and how to proceed from there.

Anyway, here is a guide for some popular brands:
- Gigabyte
- HP
- Dell
This is the most complicated part of the installation due to the differences from computer to computer. If you have any doubts, ask your trusted AI and it will sort it out without a problem.
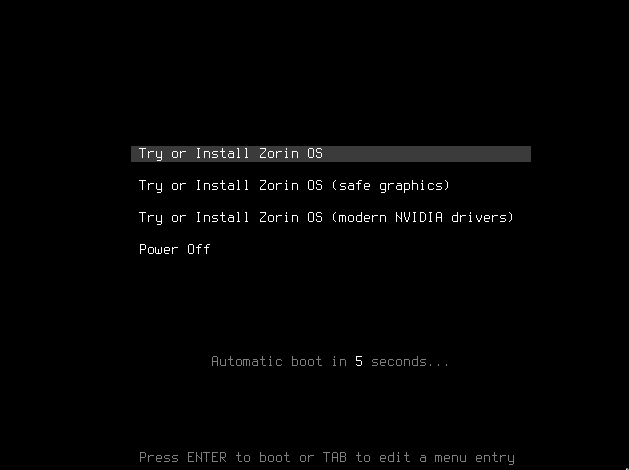
If you've done it right, when you turn on the computer now, you'll see that instead of running Windows, something else pops up. Let it load and you'll see we've entered the Zorin installer, yay!
Installer
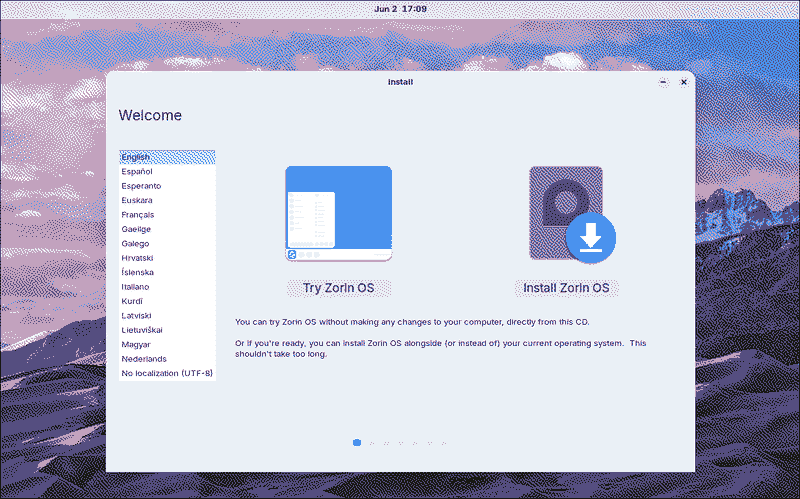
From this first screen, we can select the language, try Zorin without installing it (although whatever you do will be lost upon restart), and install it. Let's begin with the installation.
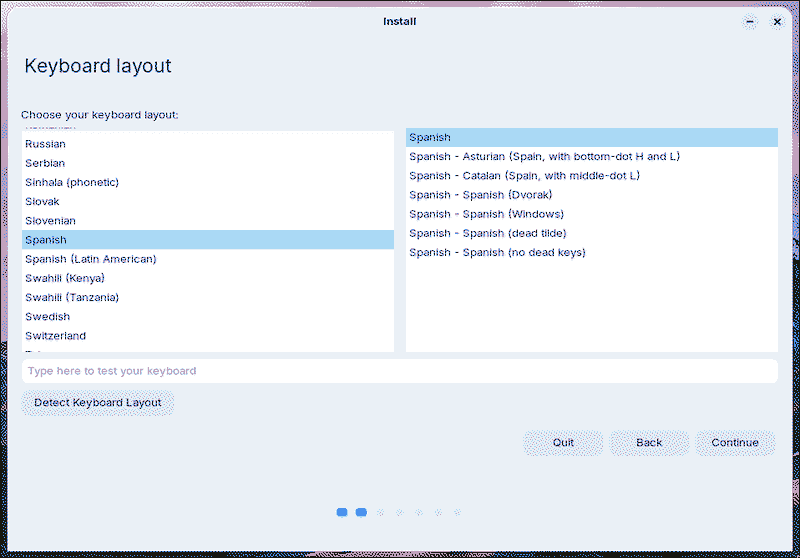
The first thing is to choose the keyboard language.
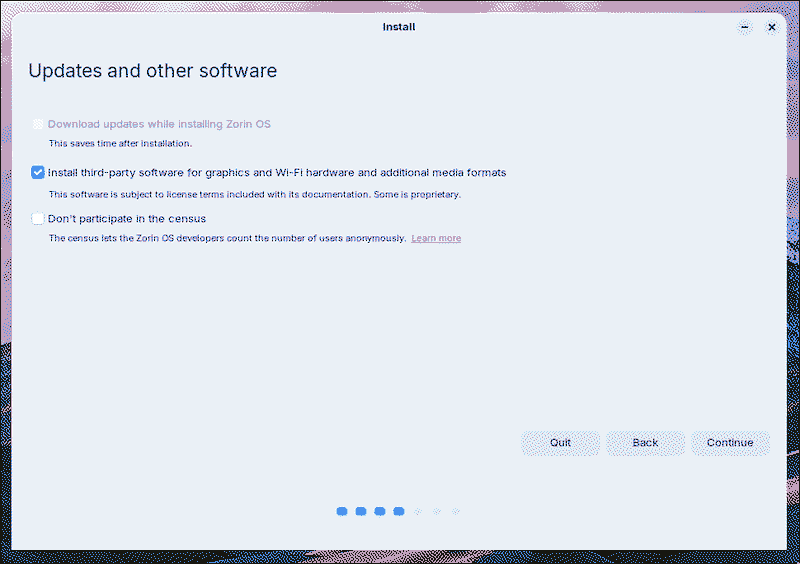
On the next screen, I recommend leaving the install third-party software box checked and unchecking the census participation one.
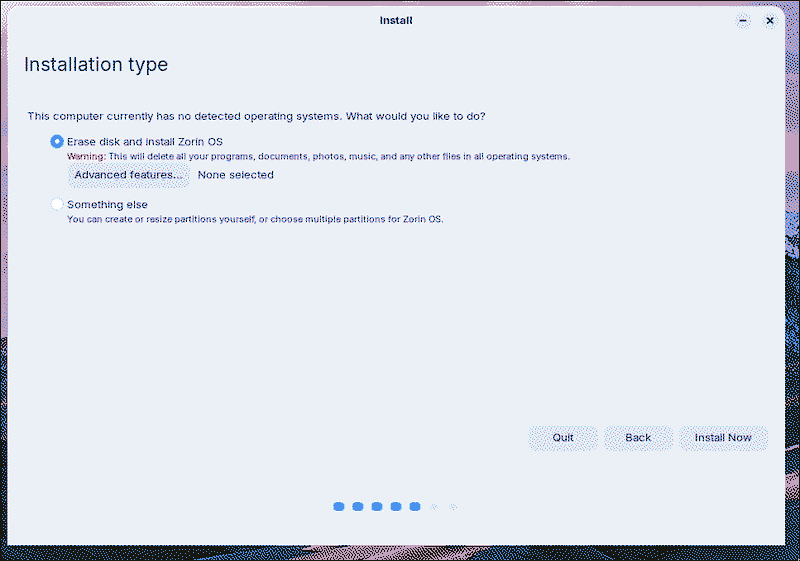
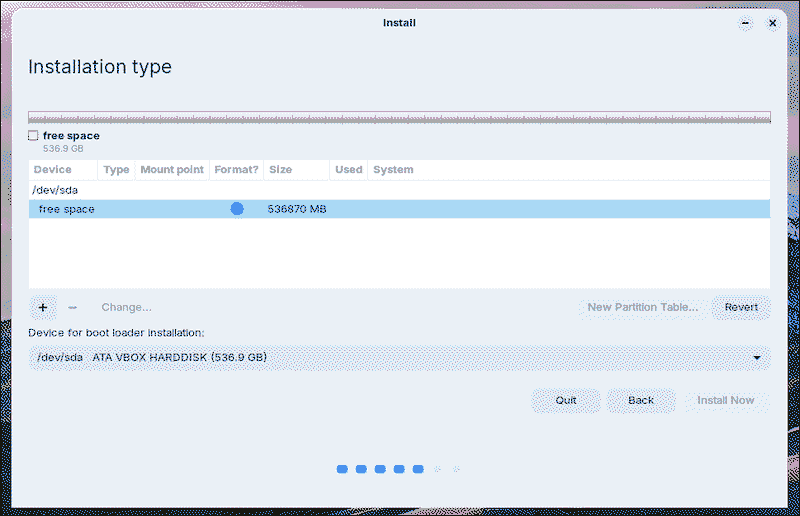
On this next screen, we are going to configure the partitions, so click on the "Something else" option.
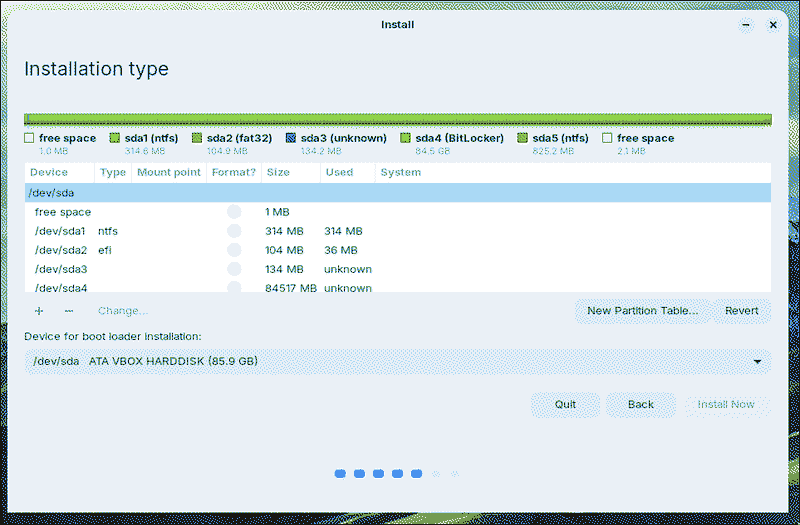
What is shown on the screen now is the contents of your hard drive; in the example image, the green part of the bar is Windows. If you want to install Zorin alongside Windows, you must shrink the size of this partition to make room for what we are going to add now. If you want to install only Zorin, then click on New Partition Table.
Here it will warn you that doing this will erase Windows and all the contents of your hard drive. If you have anything important, remember to back it up on another device. When you are sure, you can accept the message and move on to the next part.
Now you will see the empty drive, it's time to create the partitions. To do this, select the free space from the list and click the + button.
You will see a new window appear with several options and a dropdown menu like in the image.
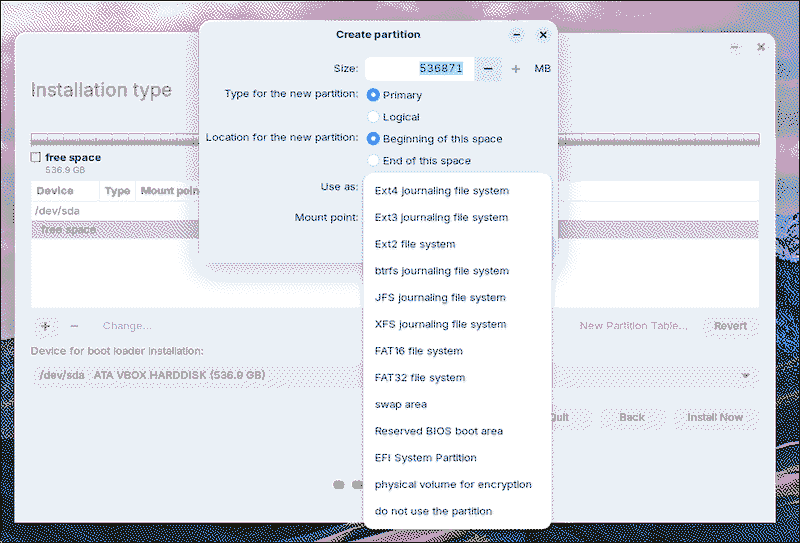
Now you will have to create these partitions:
| Size | Type | Mount point |
|---|---|---|
| 1GB | EFI | /boot/efi |
| 60/80GB | EXT4 | / |
| Rest | EXT4 | /home |
Once you have them, it will look like this.
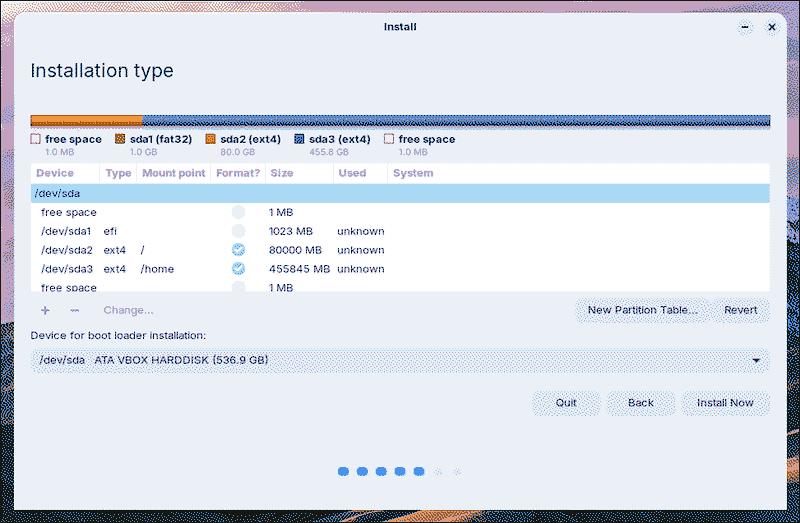
You can click install and it will warn you that, as I said before, all your hard drive will be erased now. You can accept and continue.
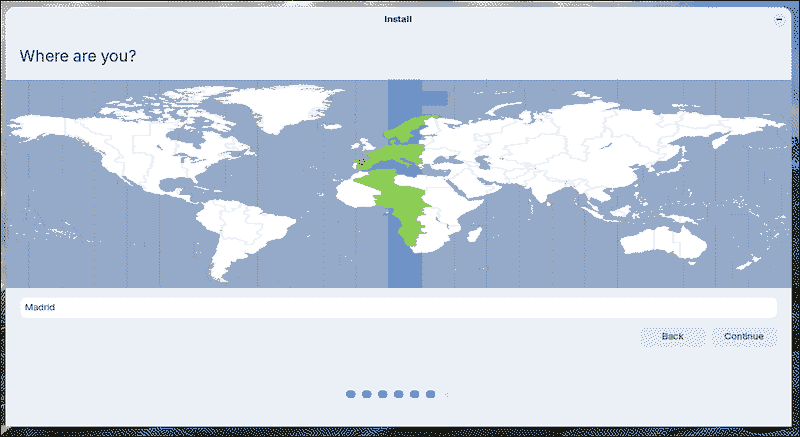
Now we will have to select the time zone by clicking on the map.
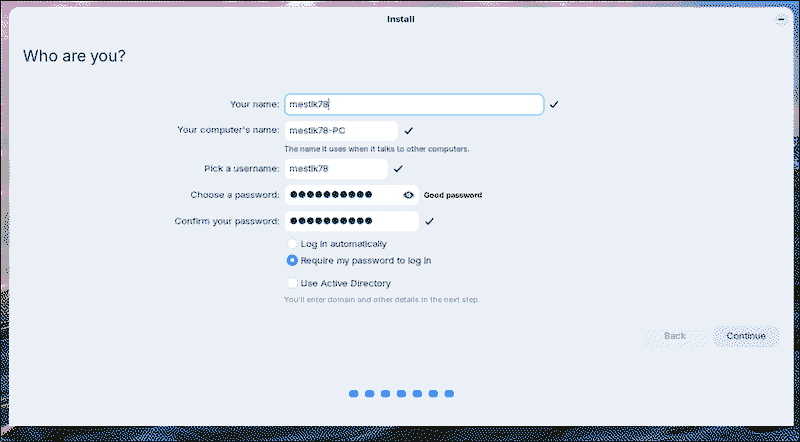
And it will ask us for information about the user and the name we want to give the computer. Right here you can configure it to always ask for a password when booting the computer or to log in directly.
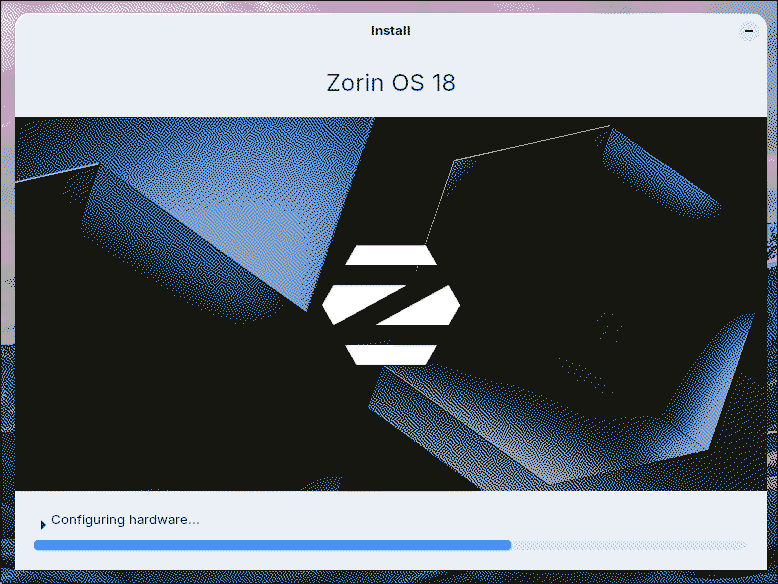
We can continue and the installation will begin.
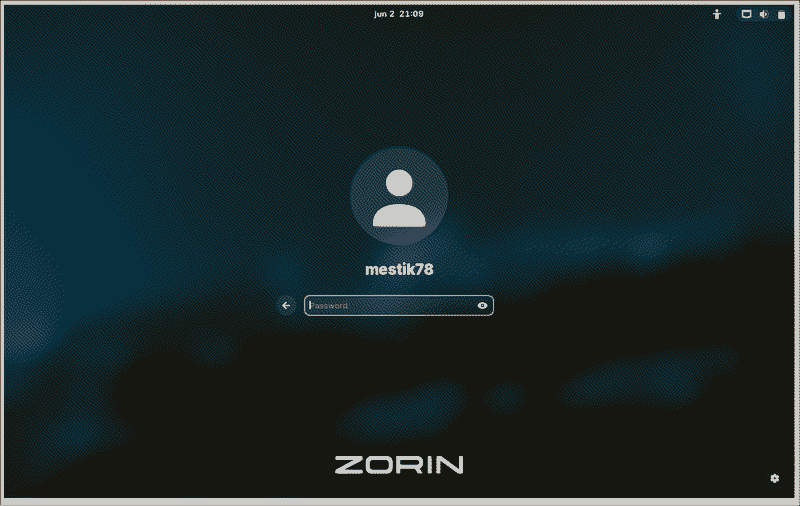
Once it finishes, we will disconnect the USB, restart the computer, and we will be in the new Zorin system!
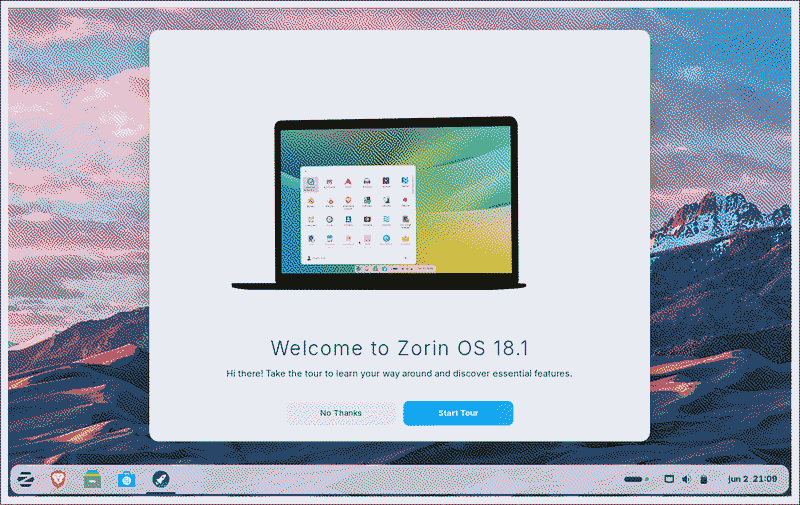
The first time we start the computer, a window will pop up welcoming us. I recommend following what that window shows to do the initial system setup.
From here on you are free, enjoy Zorin!
Conclusion
As you have seen, Zorin is quite easy to install. And this is going to be the hardest part you encounter when using it! Also, thanks to what we did in the partitions section, if in the future you want to switch to another distro that appeals to you more, you will be able to do so without losing your data. To do this, search for guides on how to install the new distro with /home on another partition.
I hope you enjoy your experience with Linux and free software!
Here is a list of applications that I recommend installing from the app store:
- Onlyoffice: An almost perfect copy of Microsoft Office so you can do all your office tasks.
- Firefox / Librewolf: My recommended browser.
- Steam: Yes, you can game on Linux!
- Prism Launcher: To play Minecraft for free.